 Relevancy and Engagement
agclassroom.org/sc/
Companion Resource

Bean Seed Fun
Students observe and dissect bean seeds and label the parts of a seed.
Materials
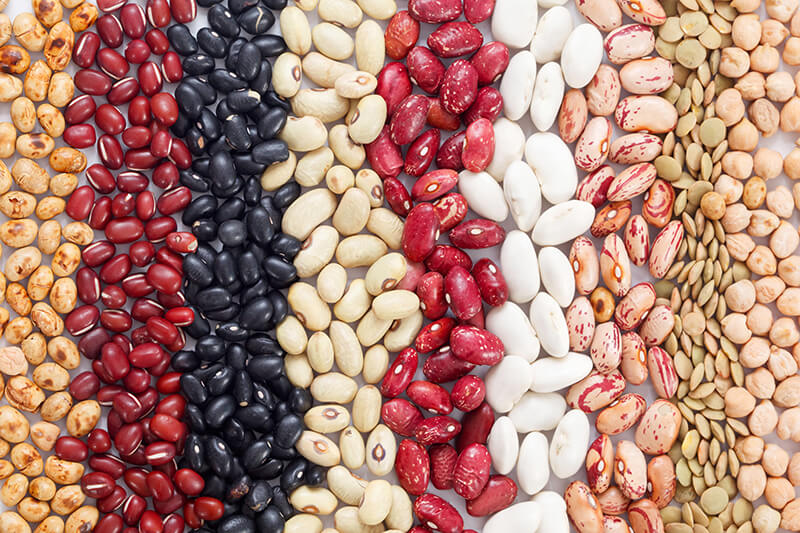
- 1 bag of 15 Dried Bean Soup Mix (20 oz.) for every 6-7 students
- The Bean Institute website
- US Dry Bean Council website
- 1 popsicle stick per student
- 1 plastic cup per student
- Water
Procedures
Bean Seed Sorting
- Show the students the bags of beans and lead a discussion using the following questions:
- What are these? (beans)
- What are they used for? (Food for us)
- Where did they come from? (Bean plants. The flowers on bean plants produce pollen that is used to pollinate the plants and cause a seed/bean to be produced.)
- How are the bean seeds the same?
- How are the bean seeds different?
- How could we sort them into groups?
- Allow time for the students to use The Bean Institute and/or the US Dry Bean Council websites to try to identify the different bean seeds in the mix.
- Have the students work in small groups or individually. Give each student/group a cup with some beans in it and a popsicle stick. Instruct the students to use their popsicle stick to sort the beans into different categories (i.e., size, shape, color, feel, etc.).
- After the students/groups have had a chance to sort the beans three or four times, ask them to share what else they observed about the seeds (texture, shape, etc.). Guide the students to think about what the bean seeds look like inside and how they might be similar or different.
Bean Seed Dissection
Prior to this activity, place several bean seeds in each plastic cup and cover with water. Soak the seeds for several hours or overnight.
- Tell the students that they will have a chance to look inside the bean seeds by dissecting them.
- Provide each student with their own water-soaked bean seed. Lead them through the dissection process:
- Using your fingernail, gently peel off the seed coat. This is a very thin, sometimes transparent, film on the outer surface of the seed. Ask the students why seeds have this seed coat. (For protection)
- Gently split the seed in half, separating the cotyledons or seed leaves. Tell the students that these cotyledons provide food for the plant as it is germinating (also called sprouting).
- In the center of the cotyledons is a small embryo. This embryo will sprout and grow into a plant.
- Have the students sketch what they see and label the three major parts of a seed—seed coat, cotyledons, and embryo.
- For more information about observing, dissecting, and germinating seeds, see the How Does Your Garden Grow? (Grades K-2) lesson.
Author
Northarvest Bean Growers